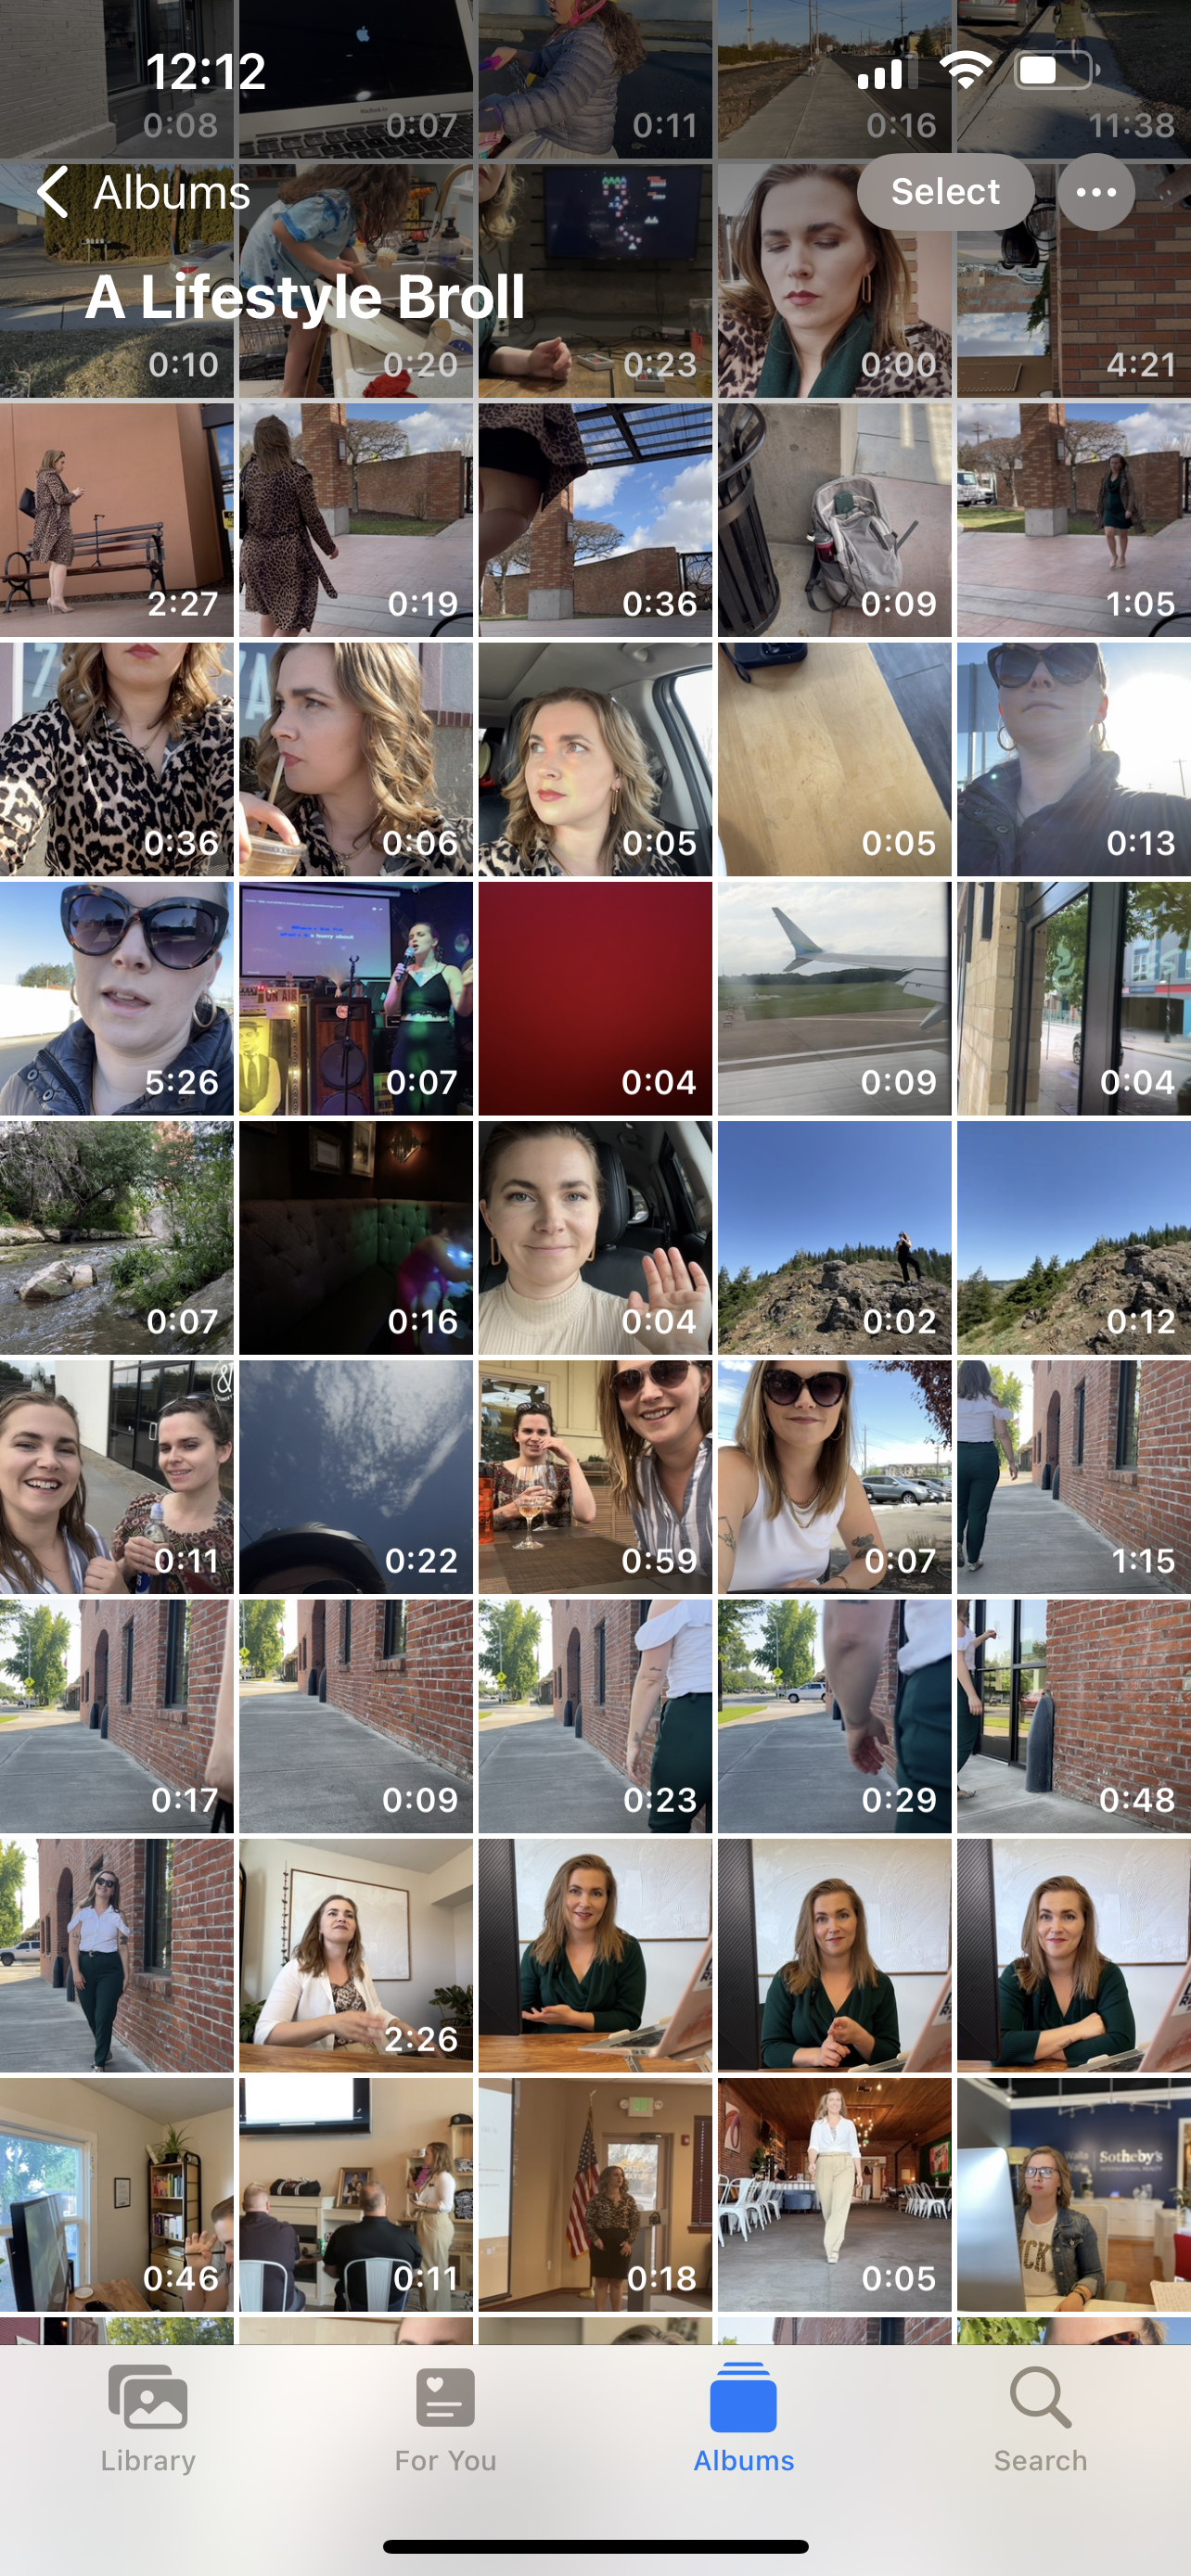
HOW TO PLAN YOUR OWN CONTENT SHOOT
I know you didn’t get into business so you could spend hours making videos … but if you’re reading this, you know that people need to see and hear you before they truly trust you, and they need to trust you before they’ll buy buy from you.
Consumers need to see your face at least 7 times to do anything, like book or follow or sometimes even comment.
I’m going to tell you how to plan and edit your own content shoot and then I'll tell you what it looks like for me to do it for you!
HOW TO PLAN YOUR OWN CONTENT SHOOT
1) Plan the shoot.
Location, date, time.
Do you need extras? Models? Friends? Reach out to them.
Bring several outfits, ideally using your brand colors.
Pack your equipment (tripod, mics, light (See the blog post on gear recs)
Pack any props you use in your business.
2) Make a shot list. With each of these, take the video from multiple angles.
What was on your calendar last week? Take those events and recreate them in your shoot.
Walk in and out of your workspace.
walk back and forth
sitting on a couch and getting back up
Pour a drink and take a sip
finishing touches on your outfit (pull at your sleeve cuff, straighten your jacket/tie, put on shoes
applying lipgloss, perfume/cologne, final spritz of spray to your hair
Take call
Get into your car, prop your phone up INSIDE your car,
Typing on phone, iPad, computer
Add prompts for explainer videos.
Is there anything you’d like to explain to your audience?
How did you get started?
What’s your favorite part of your job?
Common misconception.
Something you learned this week.
3) The shoot!
Remember lighting. Either face a window or bring a light.
Check the footage you’ve already captured BEFORE you leave to make sure you got it and you like the way it looks.
4) Edit the footage.
You can do simple edits in your phone’s photo editor. I actually prefer color adjustments done on my native iPhone app to CapCut. I also trim the ends of most my clips if they are shaky.
If you want to apply the following features, I recommend CapCut, which is free.
Stabilize the video (if it’s shaky)
Remove background noise
Cut out filler words in the middle of the clip (iPhone editor only lets you trim from the beginning and ends)
How to copy and paste edits when editing in iPhone.
Remember in the iPhone editor, you can copy and paste edits. So if you adjust exposure -7, add contrast +12, sharpen +25, and vibrance +44, you can copy and paste that to the next photo/video!
After you edit the videos, look for still frames from the video that can be used as photos. Watch the video you just edited, pause when you are looking into the distance mysteriously (or whatever you feel is a good look) and take a screenshot.
5) Add the edited clips to your Content Bank.
Here’s what Content-filming sessions with me looks like:
I make the custom shot list to display your unique work/life.
90 minutes of filming
Multiple outfit options
Professional audio quality and gimbal smooth footage
On-camera coaching so you always know what to say
Editing, because everyone uses filler words
Content bank for you to use again and again
And I’m happy to add a posting guide with lists of content ideas and hooks so you always know what to post.
All this is delivered in Google Drive so it’s backed up!
Imagine booking a content shoot once per season so you always had relevant, fresh footage !
Send me an email if you’d like this for your business!


